
 s
s
so, remember last month when i talked about my newest DIY? well, i had the shoot yesterday (very excited to be able to show you the result) and i made a little something for it. i assumed my idea wouldn't actually look any good but thought i would give it a go anyway, and whaddayaknow? it bloody worked! here was my DIY journey...

prepare materials: i got the template from ruffled blog (they are meant to be be teeny wedding favour boxes) hot glue gun, scissors, ruler, cardboard, pencil and patience

i got the patterns printed A0 size at officeworks for $3.60 a sheet, cut out the pattern on the paper then traced over the lines onto the back of the cardboard (i had to use 2 sheets of card board and cut the pattern in 2 to make it fit)

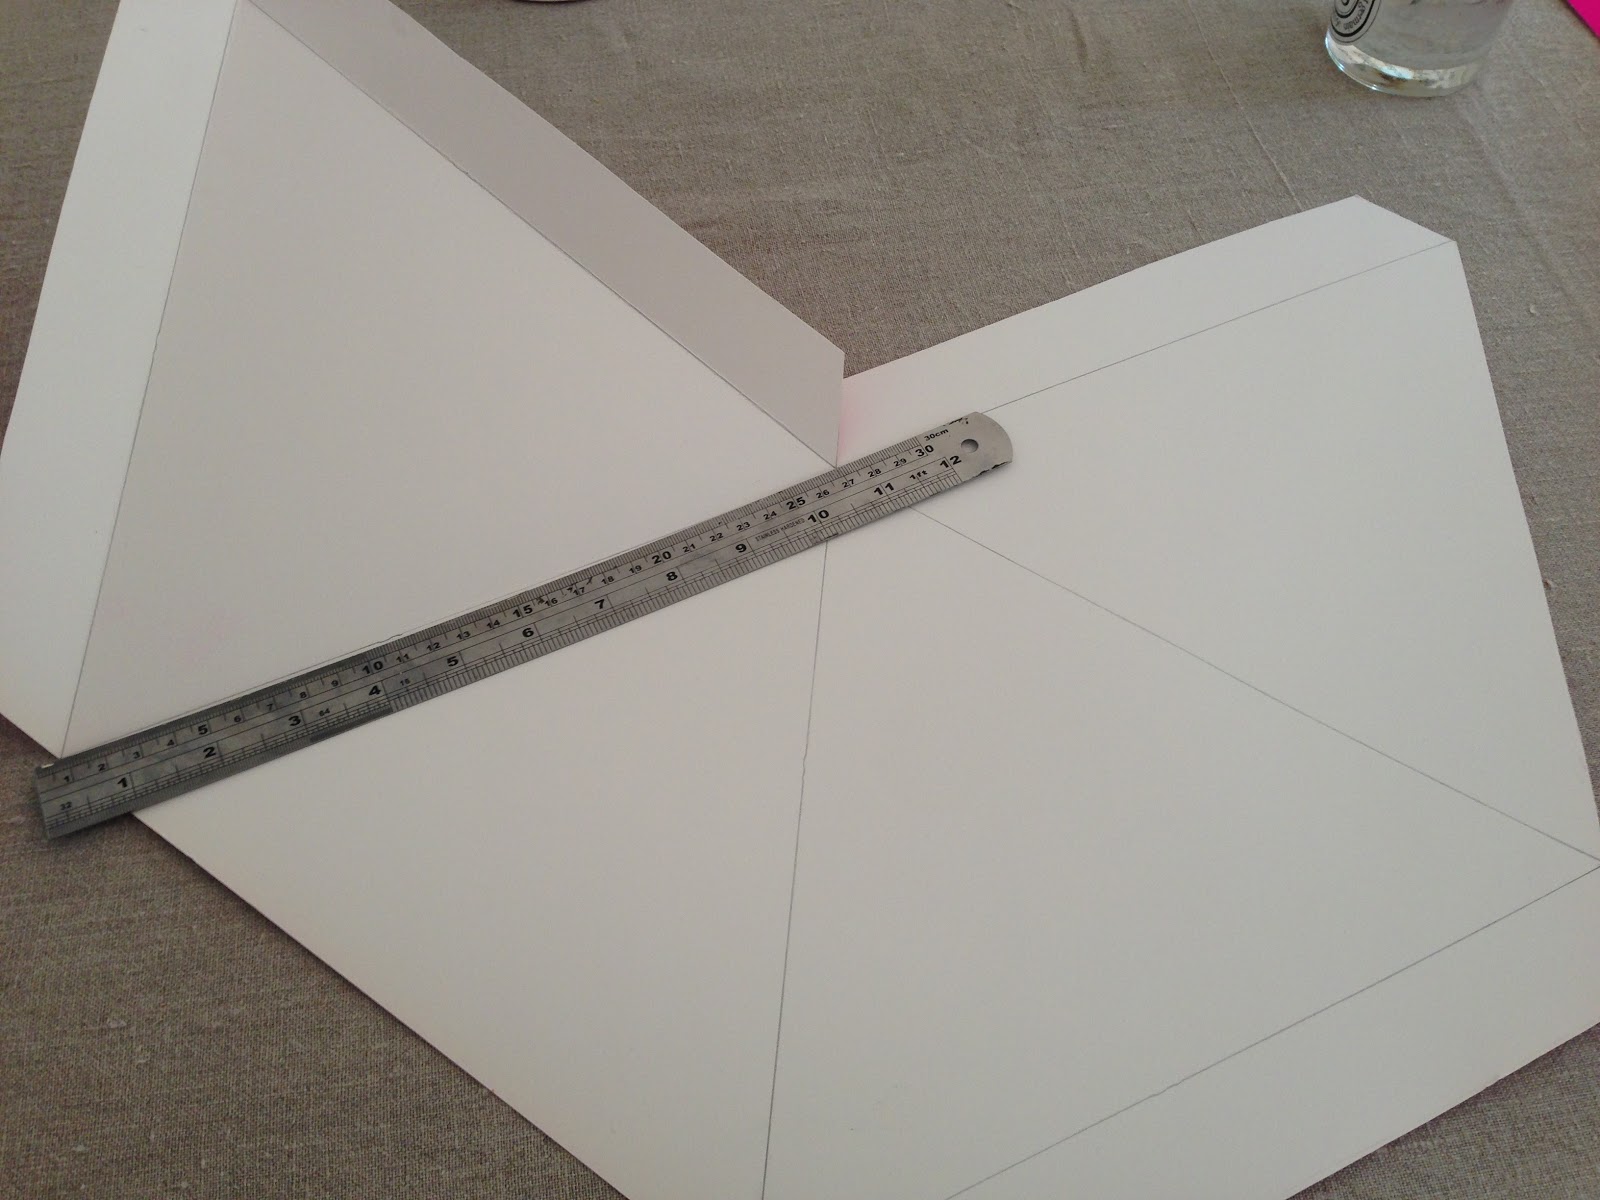
then i traced over the fold lines with a skewer to indent the lines and used a ruler to fold the paper over, this made crisp folds

one half done!

second half repeat

and voila! two halves done, now to glue them together...


first one done (i am very proud of myself at this point)

next pattern is a little more complicated and i mess up the lines again and again for some reason


first half done!


to halves done now to glue those together (result at end)

then this last pattern i had to get printed in B1 size as the 2 pieces of cardboard wouldn't cover the whole things in A0 size

tracing, cutting, folding and two halves magically appear!

glue them together and hey presto! silvery delight

the trio together...

likey?
xxx c


Looks awesome claudia!
ReplyDeleteChristmas time always makes me feel like getting crafty... I'm making a wreath for our door this weekend. Perhaps i might need to whip up a few of these on a smaller scale for my tree ornaments this year.
Mine would look like vomit - yours are awesome !
ReplyDeleteIndia
Hell's Bells! Complicated is what I see... but the result is GREAT! Congrats!
ReplyDeletex KL